An Introduction to Coloured Pencils
Welcome to the exciting world of coloured pencils!
Here, you'll learn to add depth, texture, and vivid colours to your drawings, turning them into stunning works of art.
Our goal is to make art enjoyable and accessible to everyone, as we all have a hidden creative spark waiting to be released. Let's bring art into our lives and find pleasure in this journey of creating together.
We'll help you discover your unique style, going beyond merely replicating what you see. Here's what you can expect:
- Learn to create a sense of depth, making your artwork more realistic.
- Explore techniques to depict various surfaces, adding richness to your creations.
- Discover how to blend and layer colours, resulting in vibrant and expressive pieces.
Our approach is simple, engaging, and actionable, ensuring you can quickly absorb and apply these new skills.
We'll break down each concept into bite-sized lessons for beginners and walk through demonstrations for those with a little more experience.
When starting with coloured pencils, try different brands to find the ones that work best for you. We explore a wide range of artist quality brands on the site along with graphite and charcoal options.
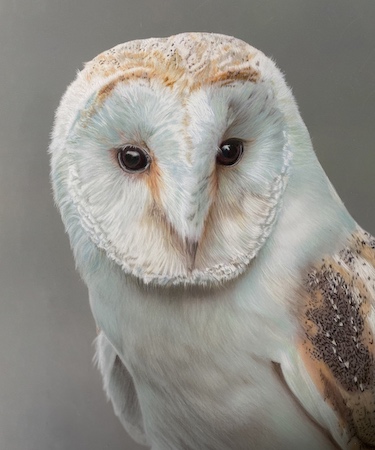
Did you know that in the hands of a skilled artist, coloured pencils can produce artwork that rivals the depth and vibrancy of oil paintings or that could be mistaken for a photograph?
The translucency of coloured pencils enables the creation of a wide array of new colours by building layers of pigment.
 Is this Barn Owl a photo or coloured pencil? Find the answer at the bottom of the page.
While understanding colour theory helps achieve desired hues and tones, failing to grasp it properly can result in muddy colours.
Adjusting the force used on the pencils can change the colour's strength - with light strokes offering a gentle wash and strong pressure producing bright, lively hues.
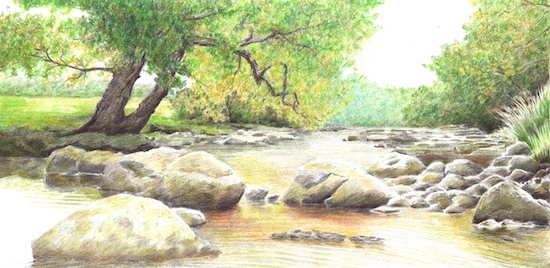
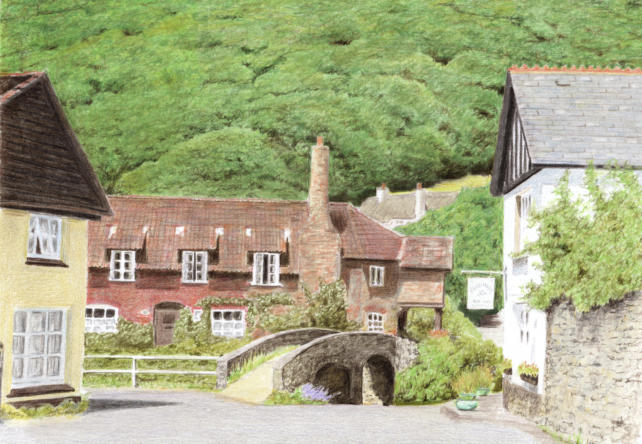
Colored pencils can bring any subject to life, from grand landscapes to intimate still life pencil drawings.
The site explores techniques like cross-hatching (layering lines at varying angles for depth and texture) and stippling (using tiny dots instead of lines to reproduce rough textures).
Creating Depth and Dimension with Coloured Pencils
Colored pencils do more than just add colour to a drawing. By subtly shifting the shade and intensity with each layer, you can craft a 3D feel on a 2D surface, making your art seem real.
This ability to layer shades and tweak hues enhances depth, life, and dimension, offering not just a broad spectrum of colours but also stunning effects.
To get the best outcome with coloured pencils, handle them gently and focus on details:
- Maintain a loose grip for precision and control.
- Understand how different shades interact, as pressure affects colour intensity.
- Consider the paper's texture, as rougher surfaces retain more pigment for richer colours, while smoother surfaces create a delicate effect.
- Layer colours slowly and avoid over-blending to prevent murkiness.
- Keep pencils sharp, especially for detailed work, to enable neat lines.
With practice and commitment, you can become skilled at coloured pencil art and create stunning artwork. So grab your pencils, let your creativity flow, and explore this vibrant medium.
And that owl?
Carol Leather drew the owl shown further up the page using coloured pencils.

